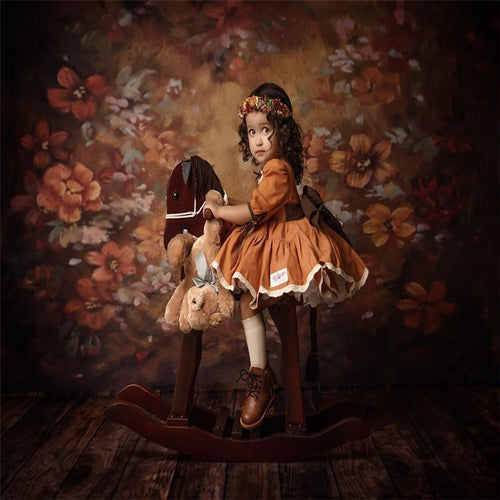


Fine art photography is literally a work of art like a painting. The clothing, makeup background, lighting colors and photography techniques are all the factors for fine art photography. This video will show you how to take fine art photography. Follow the step-by-step guide, you will find how easy it is to take fine art photos.
Estudio Tahmek is a portrait photographer. In this video, she will tell you how to take fine art photography step by step. The main steps are:
Step1: What Backdrop is Perfect for Art Photography?
Step2: How to Edit the Photo in Photoshoop?
What Backdrop is Perfect for Art Photography
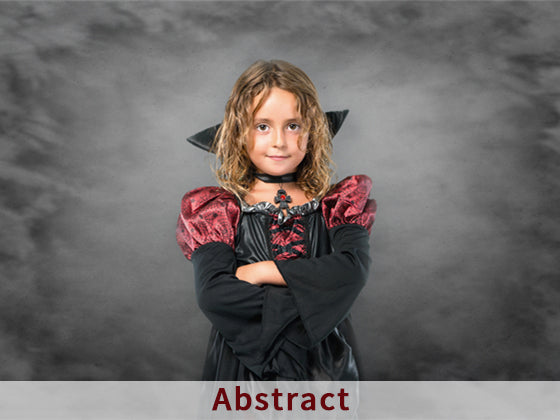
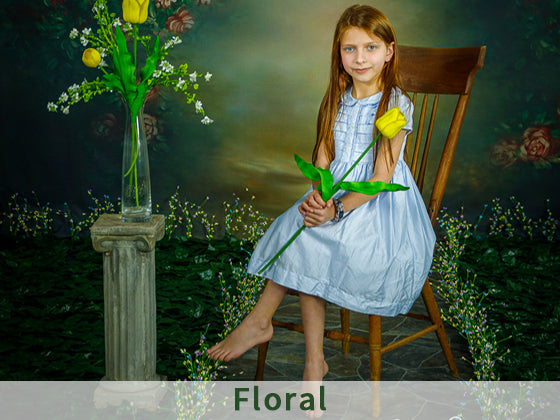
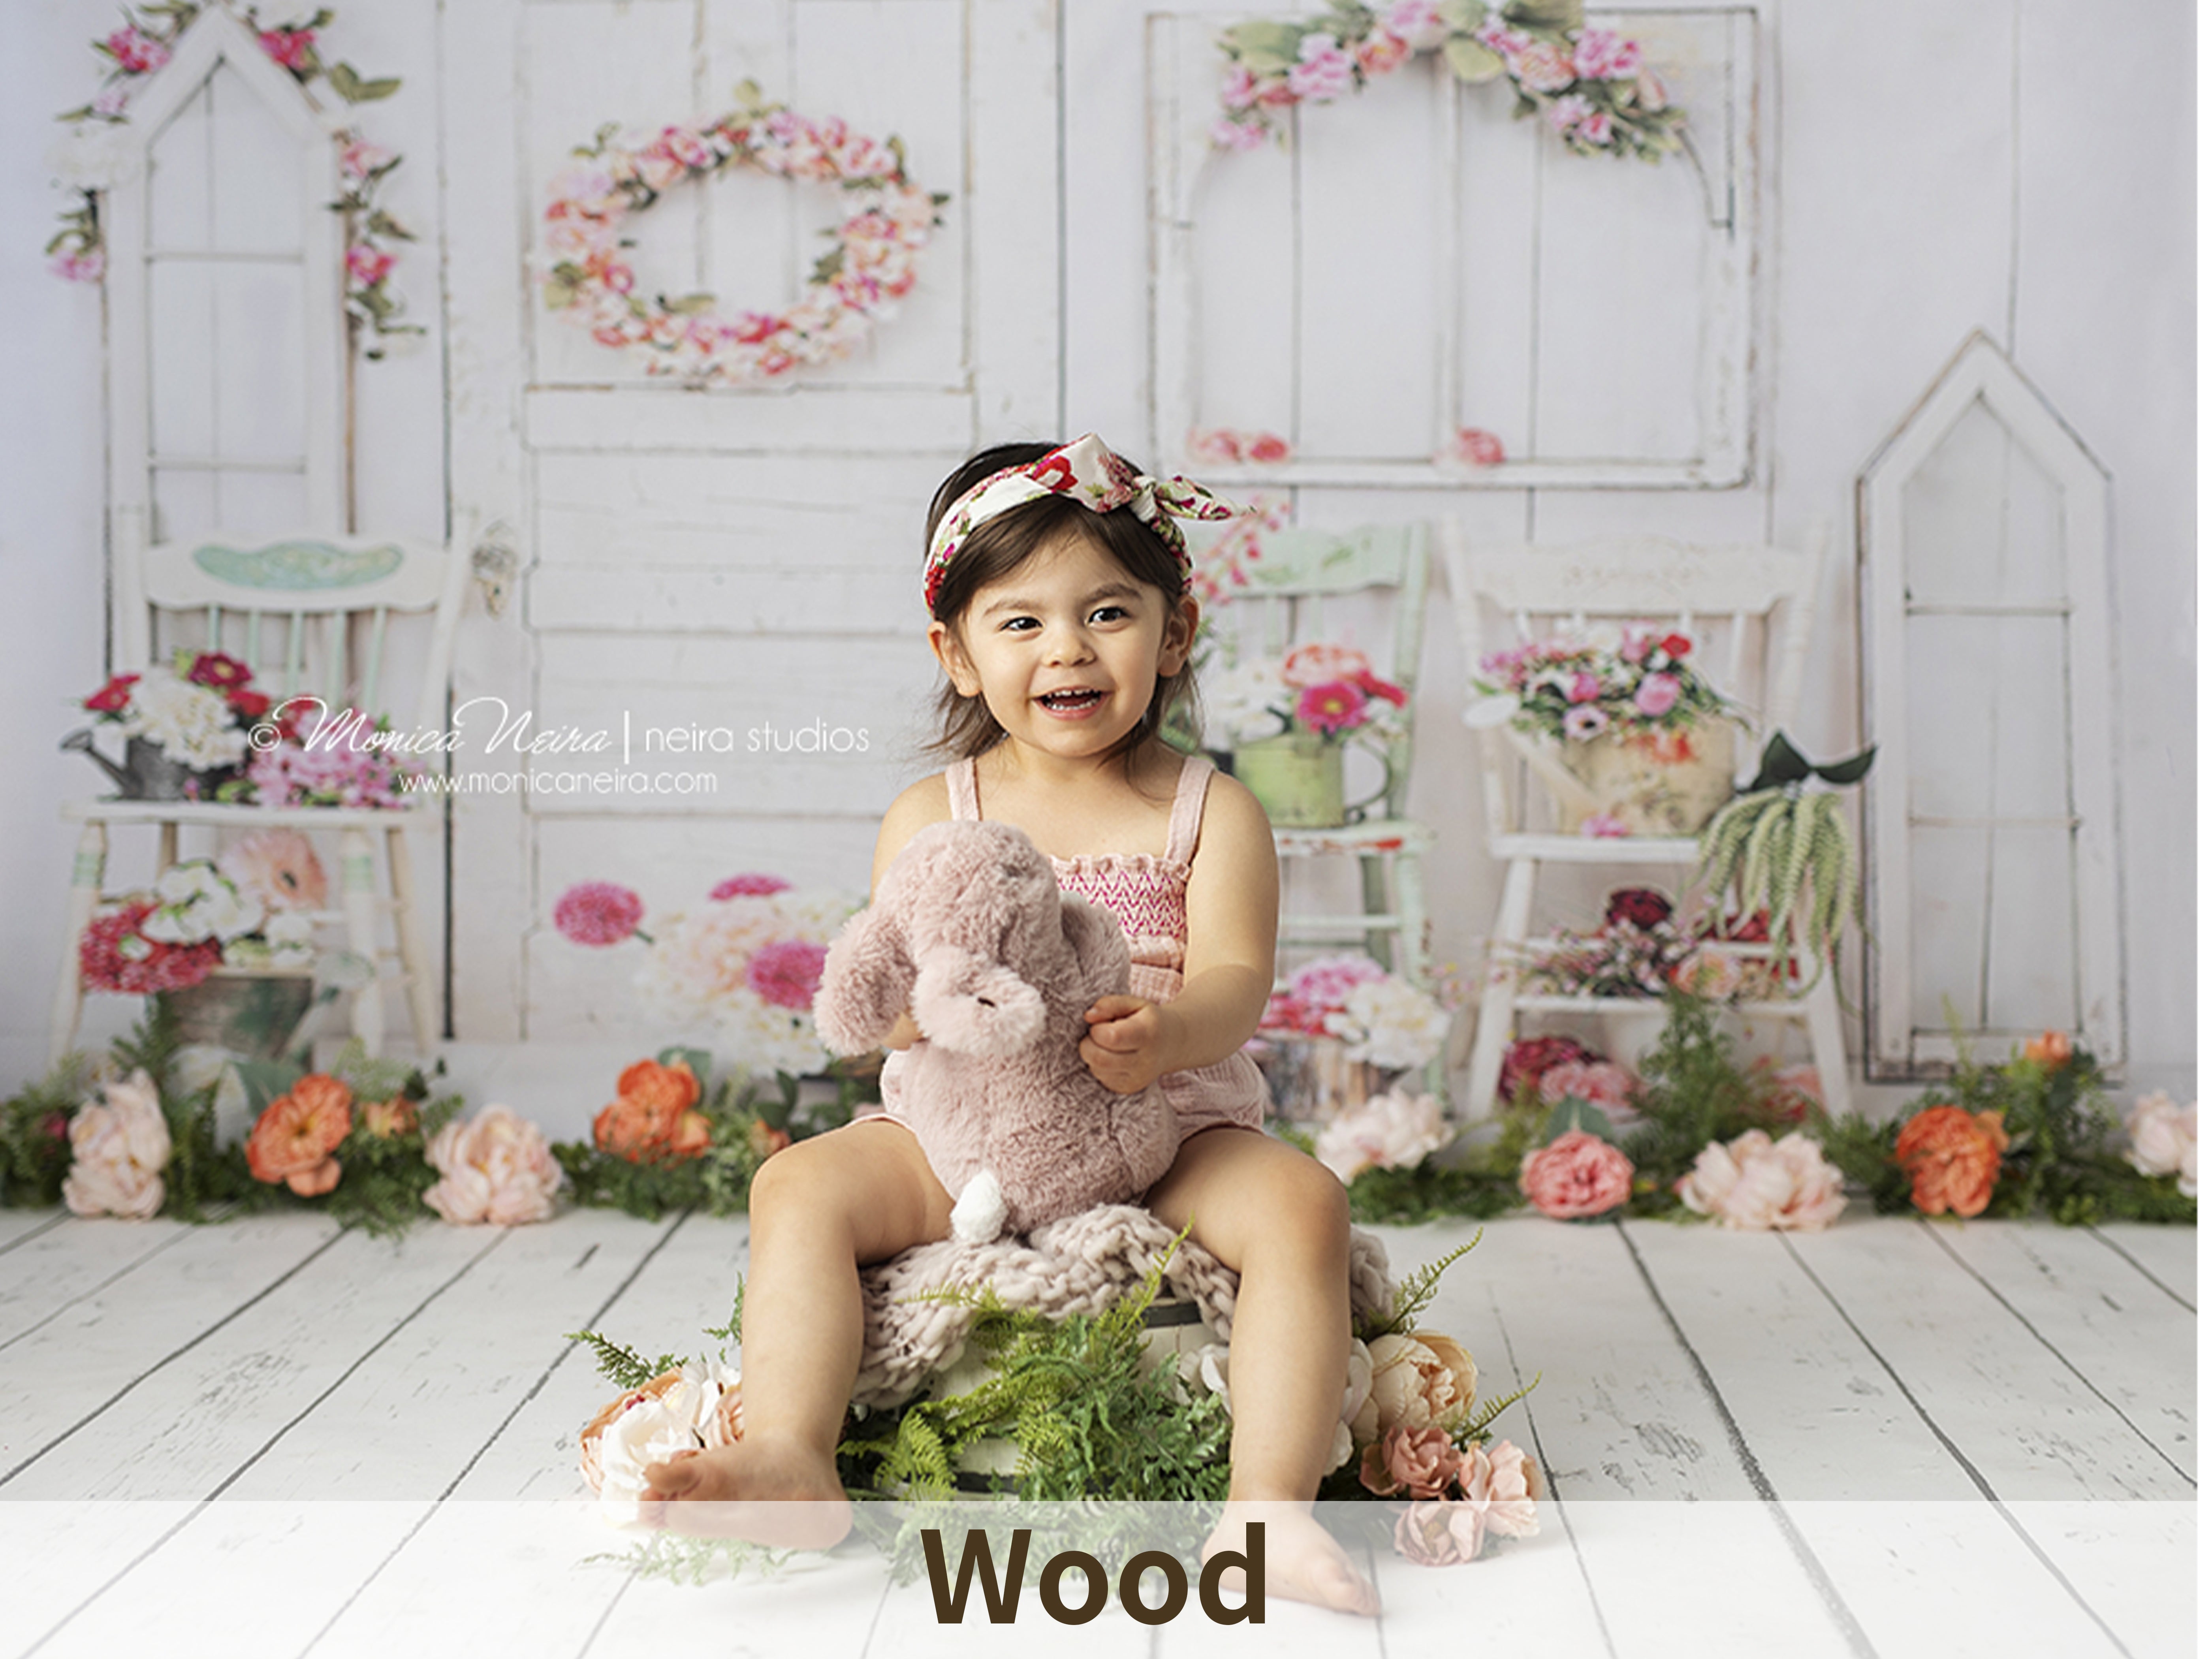
Background plays an important role in art photography. Estudio choose a 3ftx5ft Dbackdrop Abstract Flower Backdrop as photo shoot background. This backdrop is made from muslin fabric, light, not easy to wrinkle and easy to carry. With some little flowers on it, this backdrop is super beautiful and perfect for art photography.

How to Edit the Photo in Photoshoop
Something very important in the final photograph will be the edition. Editing is what will also give that final touch. Estudio will edit the photo step by step.
1. Embellish Some Details with Liquify Tool
Open the photo in photoshop and start by duplicating the layer, then fix some things with the liquify filter. Hair part is highly recommended to give more touches. Voluminous hair looks prettier. Then use Healing Brush Tool to deal with skin imperfections.
2. Adjust the Exposure
After embellishing some details, Estudio creates another layer to adjust the exposure. Increasing the shadow will make the portrait have more detail, like the hair and also the skin. Then do some compensation in the light. Just edit the photo until you find it looks good.
3. Make Your Color Palette
Right color palette is very important for fine art photography. Abode color will help you make your color palette. The principle is using two opposite colors for complement, for example, green with red or orange with blue. Now try make your color palette, give a tone more or less to make the photo color matching is more complementary, including the skin color, makeup, clothing as well as the ornaments.
4. Highlight with White
Since the background is a little bit dark, and above edition highlights the photo with more black, it’s to add some white. The solution is to edit in your deep eyes with white. Then the gaze contracts much more. This method applies to basically everything, on the skin and also the nose.
5. Final Color Adjustment
After finishing above edition, the last step is to make color adjustment. Adjust the saturation to achieve the style you want. For example, vintage color will make the model stands out. And adjust color grading and light under the guide of the color palette. Remember the shadow should also be taken into consideration.

With Estudio step-by-step guide, you can see, an Abstract Backdrop and detailed photoshop edition are really essential to make fine art photography.
Backdrop used:
https://www.dbackdrop.com/search?type=product&q=G-438+
For More Updates: Dbackdrop Photography Backdrops
Read More Tips: Tutorials for Photography and Backdrop
Hope you can enjoy this video and like this article, and get some inspirations to make awesome art photos.
Estudio Tahmeka portrait photographer and videographer based in Mexico. Her work aims to express the beauty of portrait photos in an artistic way. She manages a YouTube channel that focusing on making tutorials on photography and video. You can learn more about her in YouTube Channel. |