


The word "photography" comes from Greek and Latin root words referring to "light" and "record"—photography is fundamentally the recording of light. The less light you have, the harder it is to make a record of it, and the harder it is to do photography. Low light photography is not an easy task. If the light is not handled properly, the quality of the photos will be poor. In this article, I will talk about tips on how to take pictures in low-light environments, whether indoors or outdoors.
Create More Light
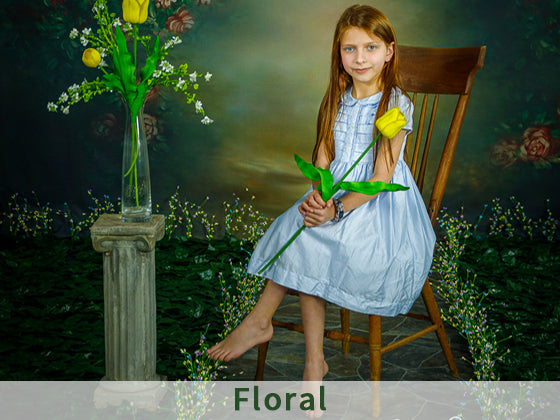
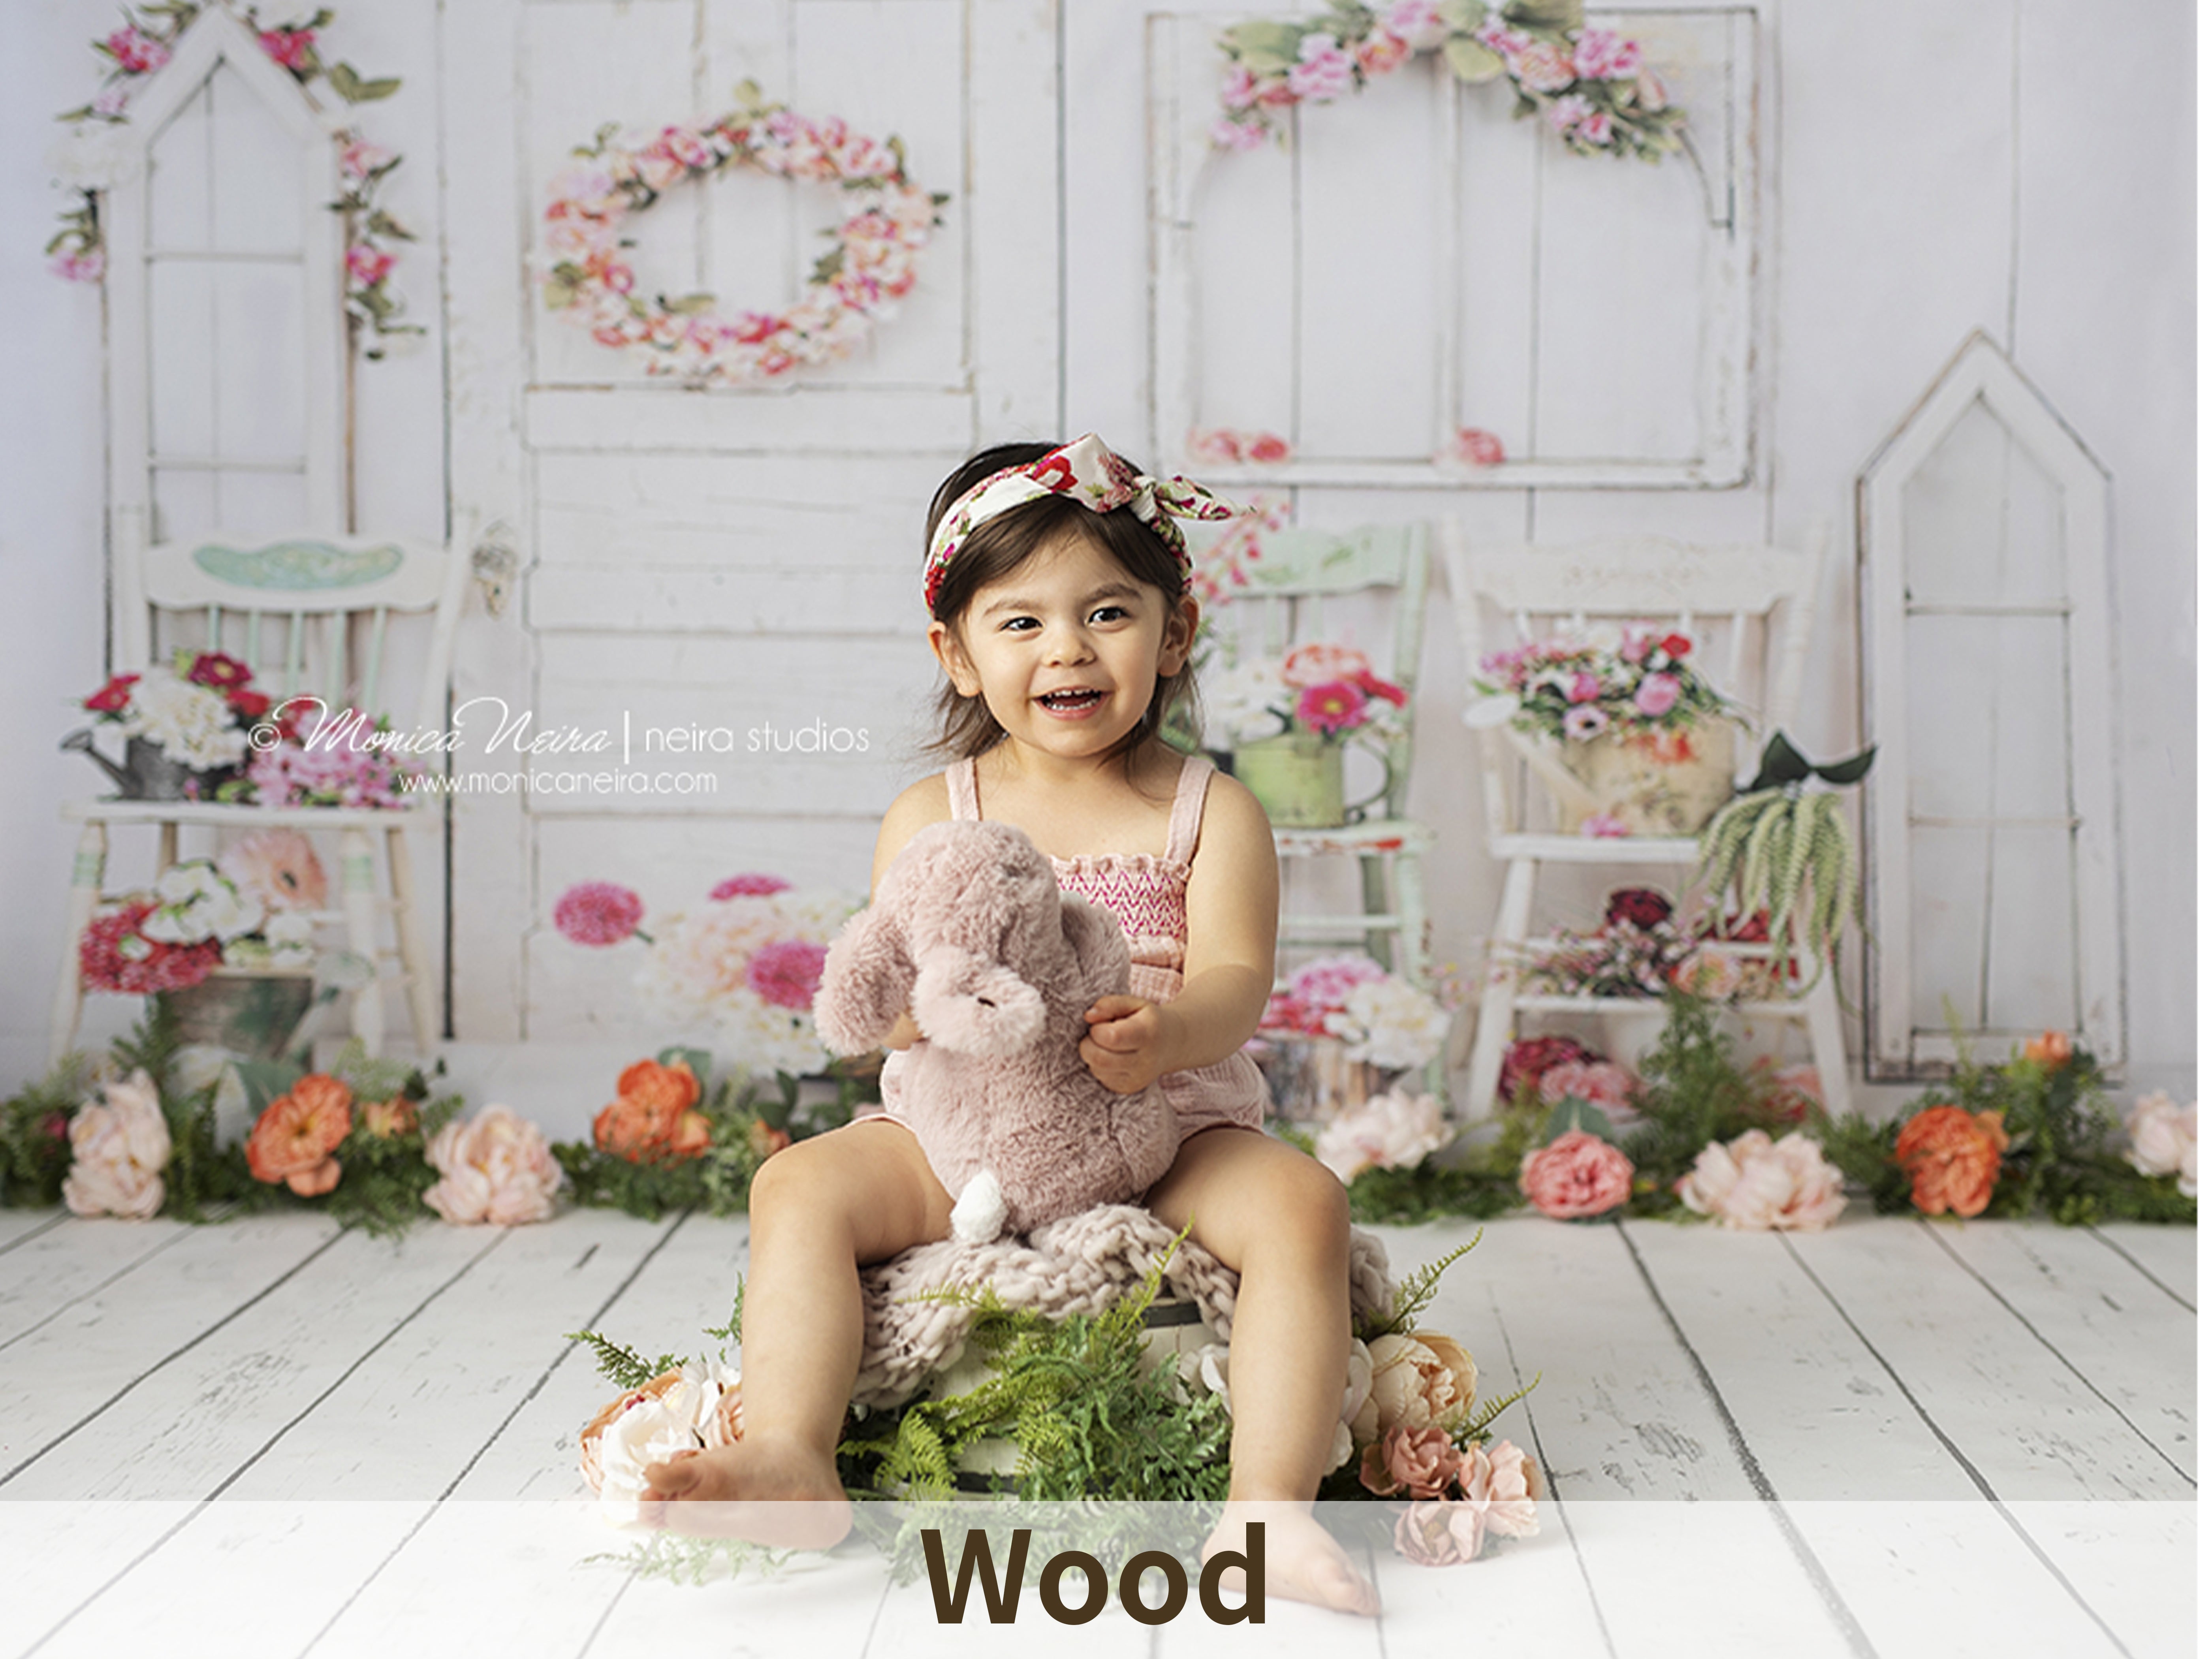
If you have no choice but to shoot in low light, try to add light as much as you can. Open window blinds if there's daylight outside. Turn on more interior lights if you can. Bring in more interior lighting from other parts of the house. If you have a flash or several, ceiling bounce it or use it off-camera to add lots of light. While direct on-camera flash can look bad, there are plenty of other ways to use flash that are indistinguishable or maybe even superior to natural light. Sometimes a photography backdrop will be helpful for indoor low light photography, such as Sequin Fabric Backdrop or Bokeh Backdrop, which are sparkling, so that they can reflect the light and make the shooting background more brighter, creating unexpected photo effects.

Lower F-number Aperture
Your aperture setting controls how much light comes through the lens. A lower f-number corresponds to a wider aperture and more light. As Nasim Mansurov wrote in Low Light Photography Tips, the first thing you will need to try to do is set your lens aperture to the lowest f-number on the camera, which is called the “maximum aperture”. Opening up your lens aperture will allow more light to pass through the lens into the camera body, which will result in faster shutter speeds. In order to do that, you will have to either switch to “Aperture Priority” mode or manually override your aperture in whatever mode you are using. Then, start opening up your aperture until you get to the lowest f-number your camera will allow, its maximum aperture. For example, if you have a 35mm f/1.8 prime lens, your maximum aperture will be f/1.8, while the maximum aperture on a lens like 18-55mm f/3.5-5.6 will change from f/3.5 to f/5.6 depending on the focal length.

Slower Shutter Speed
Your shutter speed setting controls the length of the exposure and how long the sensor will be gathering light from the scene. A slower shutter speed / longer exposure corresponds to more light. If your subjects are immobile (or you don't mind them blurring) and you have a tripod or steady surface to put the camera on, a longer exposure offers you a great opportunity to gather plenty of light from the scene. This is how many nighttime landscapes and skyscapes are shot. But you will need to use a faster shutter speed if you want to avoid recording the blur of moving subjects, or the blur from the natural movement of your camera.

Increase Camera ISO
In order to make the image brighter, you can increase the camera ISO. As Nasim Mansurov blog said, if you are shooting at ISO 100 and your camera’s shutter speed is 1/25th of a second, resulting in blurry images, you will need to increase your ISO to 400 to get the shutter speed of 1/100th of a second. How did I calculate that? Basically, doubling your ISO doubles your shutter speed. So, increasing the camera ISO from 100 to 200, increases your shutter speed from 1/25th of a second to 1/50th of a second. Then, increasing it further more from ISO 200 to 400 increases the shutter speed from 1/50th of a second to 1/100th of a second. But a higher ISO makes your sensor more sensitive to light and increases brightness, but also adds noise/grain to the image. Newer cameras and larger sensors tend to exhibit less noise at higher ISO. Noise can be reduced to some extent in post processing. And it's generally easier to deal with noise than it is to deal with motion blur, so don't be afraid to use a higher ISO setting if it means you can avoid a too-slow shutter speed.

Low-light photography is more interesting than you expected and you should do more practice with your camera in different lighting conditions. If you master how to take photos in low light, you will make great progress in photography.
Check out more Dbackdrop Blogs about photography tips.
For more updates and information from: https://www.dbackdrop.com/
Nasim Mansurovthe author and founder of Photography Life, based out of Denver, Colorado. He is recognized as one of the leading educators in the photography industry, with professional working experience in photography, conducting workshops, producing educational videos and frequently writing content for Photography Life. |